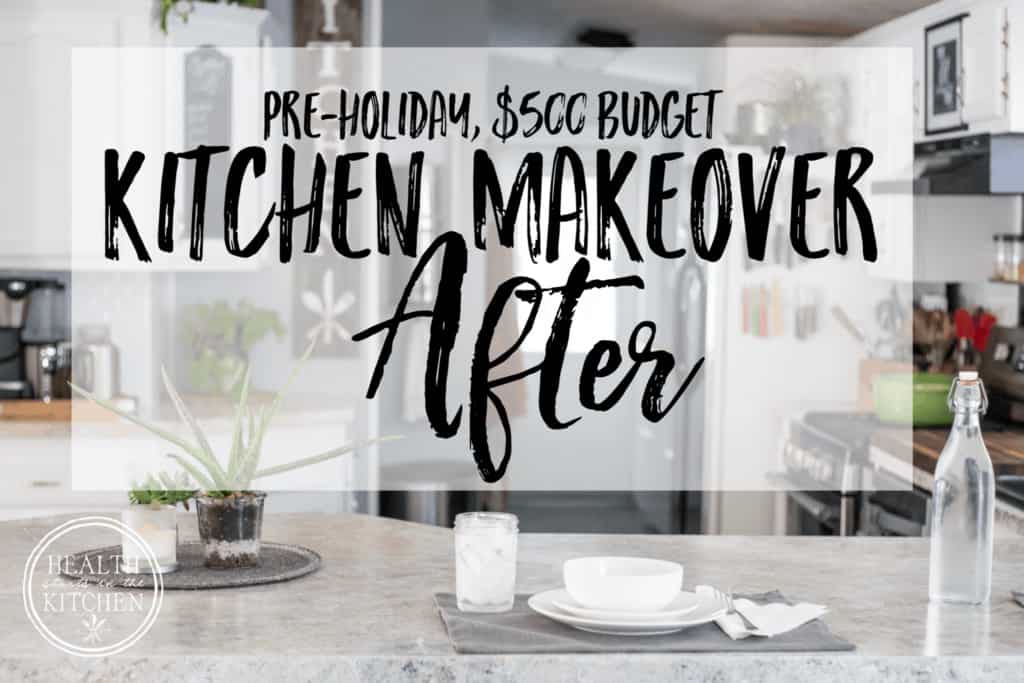
Holiday Kitchen Makeover ($500 Budget) AFTER
 Finally, right? I know this post has been a long time coming, but it’s taken me a while to feel really, really ready to share the big reveal.
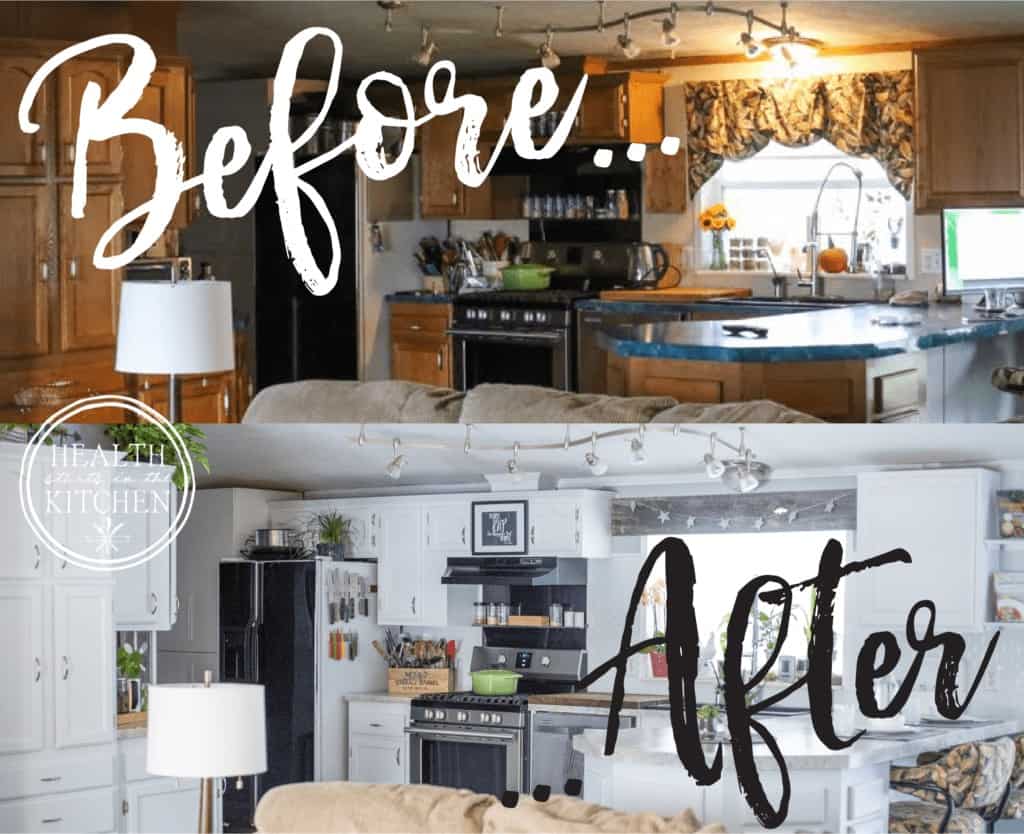
This kitchen makeover was far more that just some paint, it’s been a complete transformation that’s resonated far beyond just my kitchen’s asthetics. My kitchen is where I create delicious meals, it’s where I work, it’s where I spend the vast majority of my time. And when it was dated and dark, it negatively impacted my happiness.
I’m sure it seems trivial and silly to some of you, but this space is very important to me and now it’s a place I truly enjoy spending time in.
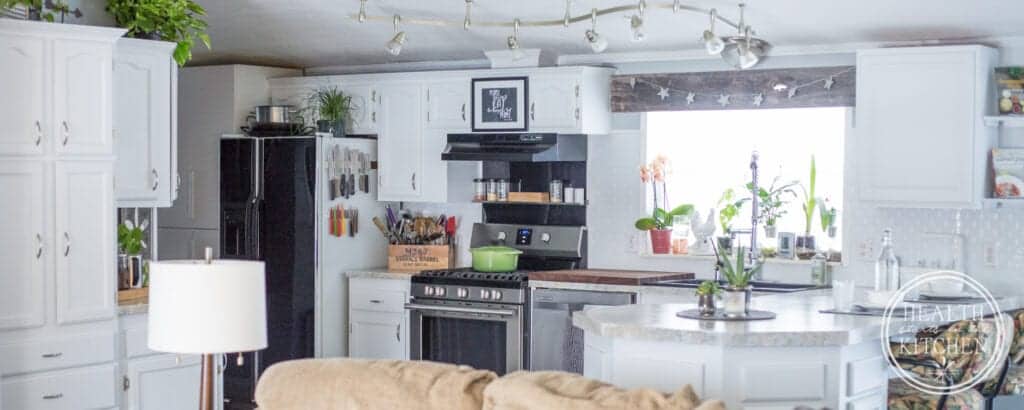
I’ve honestly enjoyed keeping it to myself for the past few weeks and tinkering around with different design accents (mostly that I simply re-purposed, and didn’t buy) but NOW without further dragging my feet….. Here it is:
I’m proud to share that the actual make-over was definitely under my $500 budget.
How did I spend my $500 Holiday Kitchen Makeover Budget?
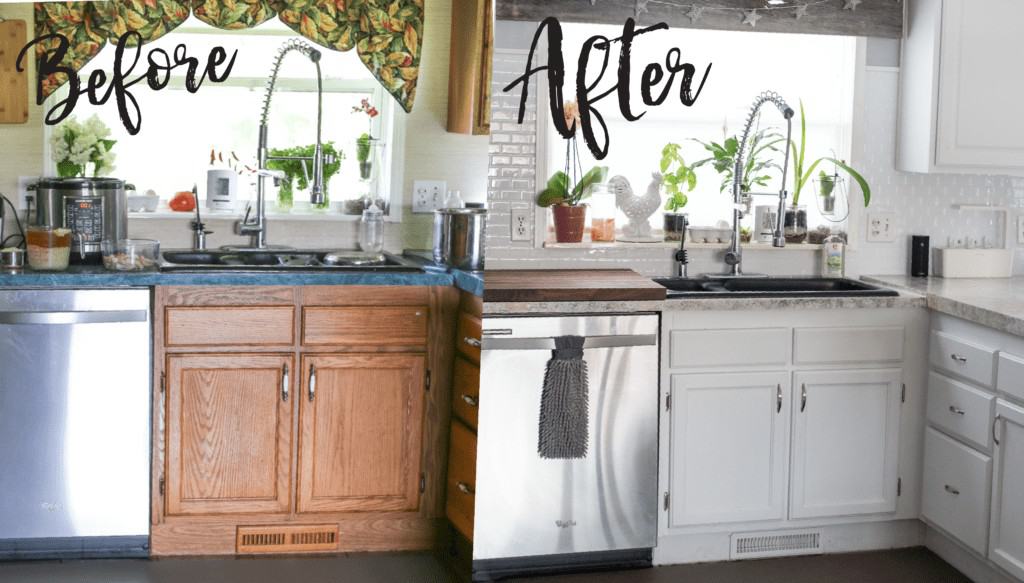
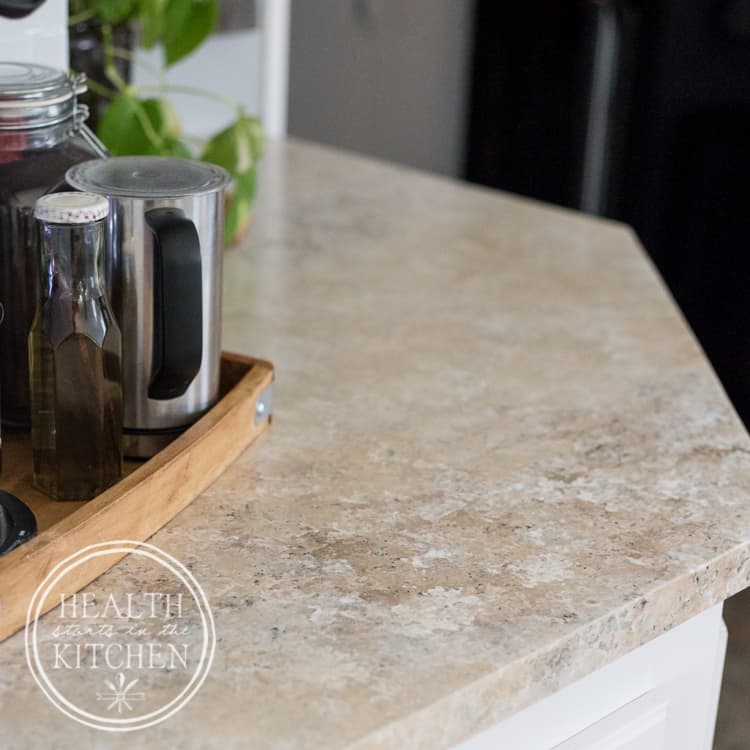
Faux-Stone Counter Top Resurfacing ($79) – This amazing Giani Granite Paint Kit in Sicilian Sand made it possible to completely transform my green laminate countertops to a beautiful faux-stone finish in just 1 day.
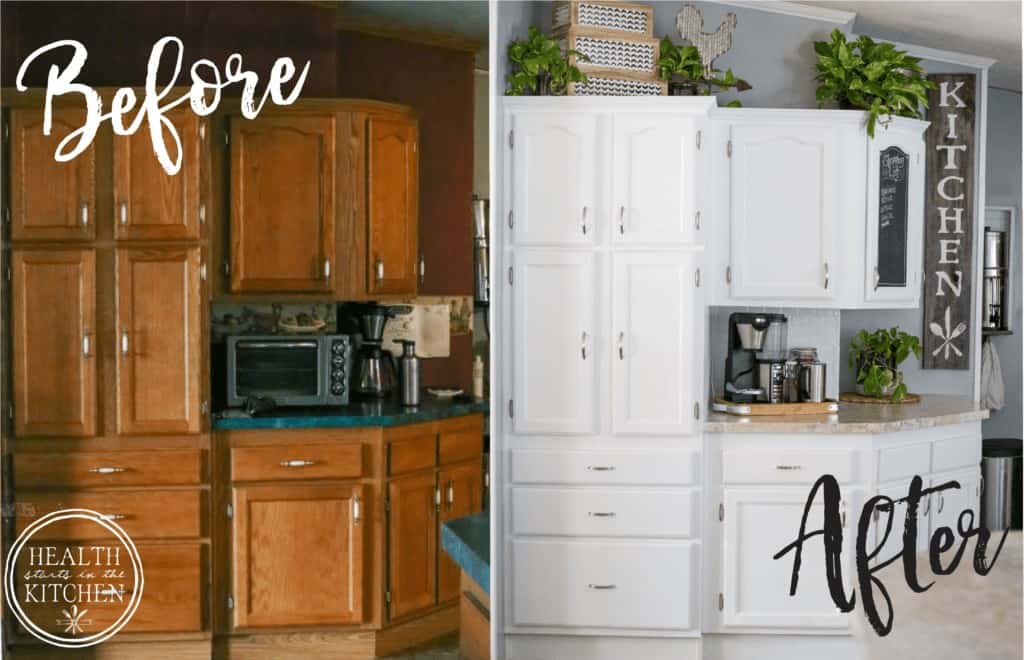
White Cabinet Paint ($110) – The Nuvo Titanium Infusion 1 Day Cabinet Makeover Kit made the transformation from orange-oak to bright white so easy.
But I will say that it definitely took me longer than 1 day and because we have LOTS of cabinets, most of which were severely greasy from 15 years of high-traffic cooking, my kitchen required extra coats.
I did use THIS PRIMER on the cabinets above our stove and below our sink. I also purchased 1 additional quart of the cabinet paint which after I finished the kitchen, left me ample extra for touch ups in the future.
Nickel Cabinet Hardware ($90) – Something as simple as swapping out our gold hinges and handles with more modern ones made a big difference. 25 Sets of Nickel Hinges were $45 and 35 Nickels Handles were $45.
I am super excited to share that I removed and replaced each and every hinge and handle in my kitchen all by myself!
And it sucked. But THIS screw gun that Ray let me borrow, made it so much easier. It’s smaller and lighter than a clumsy drill but works just as good. If you’re going to replace your hardware, get one they are cheap and you’ll love it.
Adhesive White Subway Tile Backsplash ($86) – It couldn’t be easier to get the look of tile with adhesive sheets of faux-tile. I needed a total of 20 sheets to do our entire backsplash area, each pack of 10 sheets was $43. No need for messy adhesive and grout. No renting tile cutting saws.
Easy peasy, just like sticking stickers on the wall because that’s exactly what you are doing. It is a little tricky to match them up, but after a few sheets you get the hang of it quickly.
Trim ($30) – I spent roughly $10 on a few small pieces of trim to finish edges of the tile back splash and to fix a yucky part of our cabinets that we modified previously. We also splurged on an inexpensive pneumatic trim nailer at our local Harbor Freight, who knew that a $20 tool could be so fabulous?! Best investment, ever.
Ceiling Paint ($50) – Our Kitchen ceiling was a DISASTER. And while you don’t realize it day to day, over time it collected so much grease and gross stuff. A gallon of ceiling paint and a new roller brightened the space up so much! This was my least favorite part of the entire project, however using THIS color changing ceiling paint made it so much easier to see where you missed. It goes on pink/purple but dries white, what a genius idea!
Misc Supplies (FREE) – I’m not saying FREE like the guy at Lowes gave them to me, I’m saying FREE as in they are leftover from previous projects. I made the decision to use the same paint as I’ve used in other places in our home because (a) I like it and (b) it needed used up. I alway have rollers/brushes and stuff like that in my DIY kit.
Display Shelves ($30) – I added 2 corner shelves to the side of one kitchen cabinet to display the 2 cookbooks that I have written; Without Grain & Fermented Foods at Every Meal.
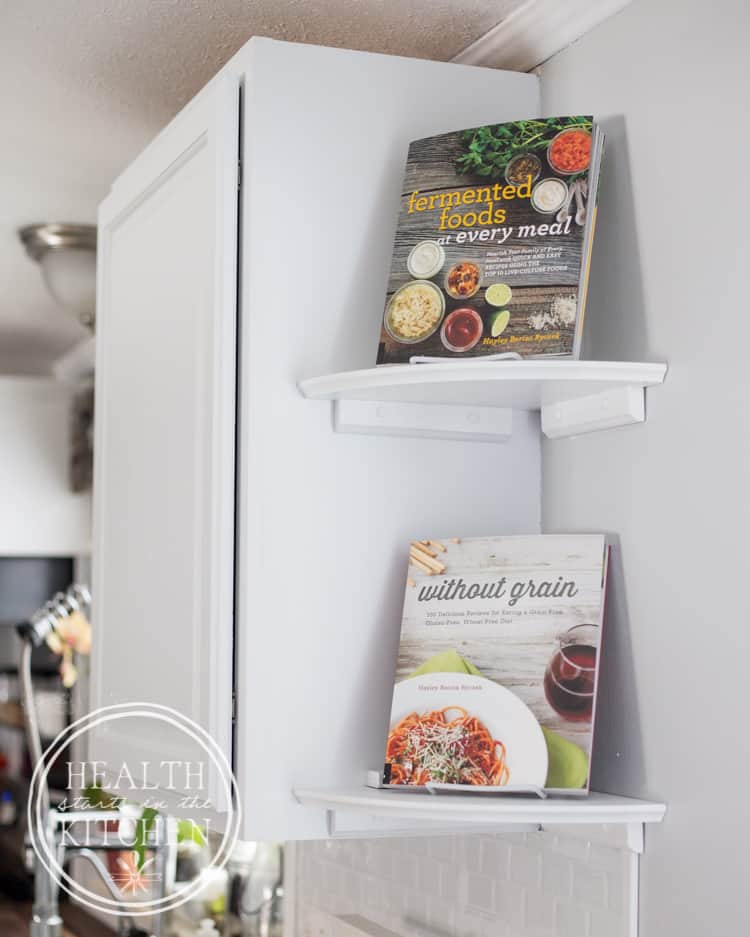
They look great and I finally feel like my hard work is showcased! After all each and every recipe was created & photographed right here in my very own kitchen!
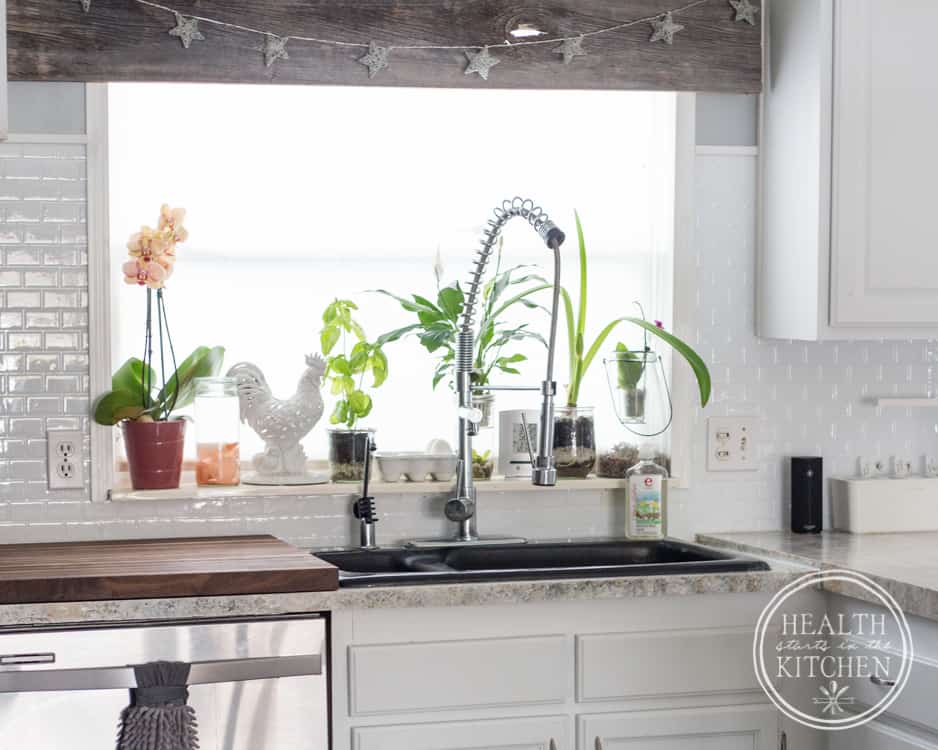
Barnwood Valance ($5) – By simply using a piece of reclaimed barnwood, 2×3 wood, nails/screws that we had in the garage, we were able to make a super simple, farmhouse inspired window treatment.
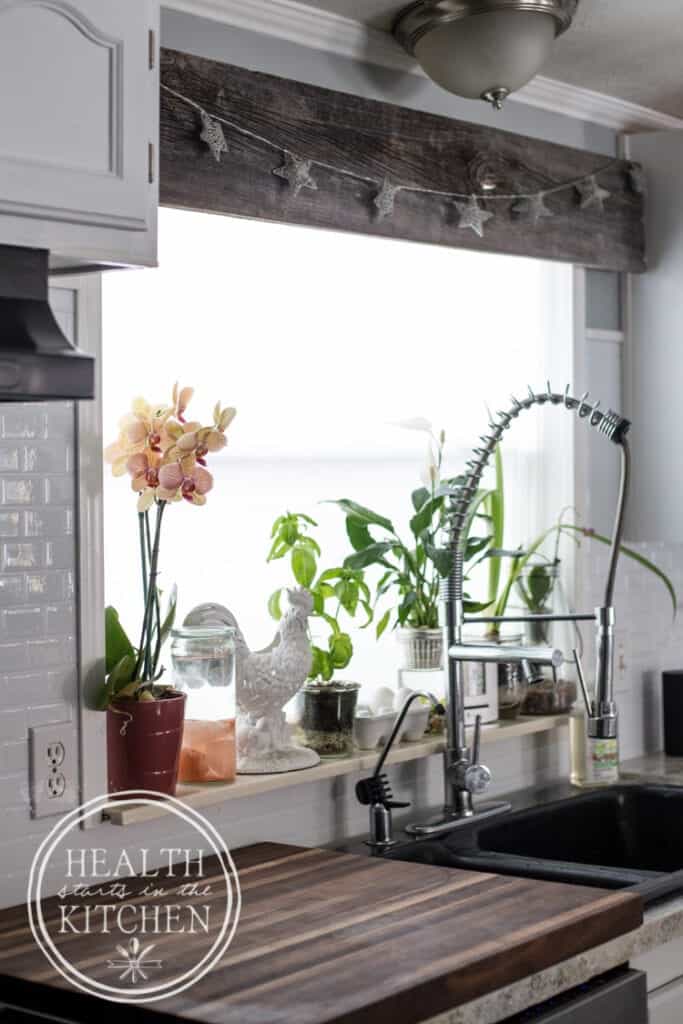

I quickly draped a star set of battery operated lights over top that I got at Target for $5. The white roll shade that was on the window previously we rescued, just scrubbed it clean.
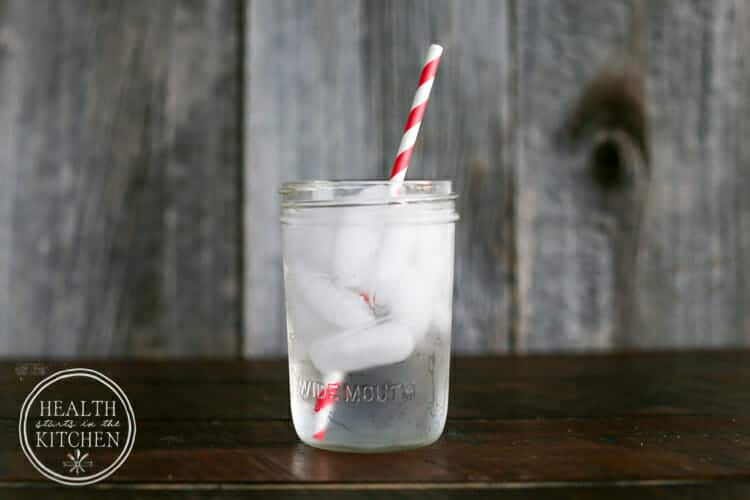
Between the Studs Berkey Water Filter Shelf ($5) – Again using supplies we had already and a $5 shelf bracket, we created a space saving place to keep our water cleanliness bathtub.
If you don’t have a Berky Water filter, stop CLICK HERE and get one now. They are the easiest way to have clean, healthy & fluoride free drinking water.
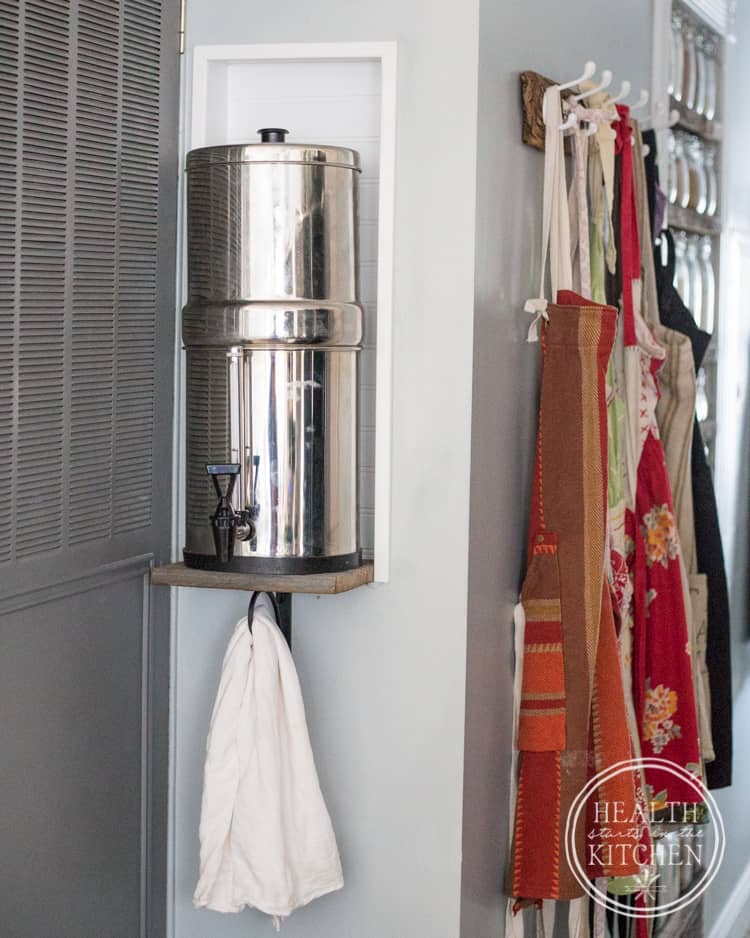
Want more details? Comment on this post if you want me to share our DIY instructions for our Between the Studs, Berkey Shelf.
Sometimes it’s the little details….
While I didn’t intend on purchasing extras and decor for my makeover, since it was completely a budget focused effort, there area few extras that I added after the makeover was done and a few things that I want to be sure you notice that were in our kitchen pre-makeover.
None of these items were required, nor are they the things that made the biggest impact. However I wanted to talk about them too!
Refrigerator Mounted Knife Rack – I know everyone doesn’t love knifes on a magnetic bar and being honest I wasn’t sure that we would like it either. But now that we have lived with it for a while, I never want to go back to a knife block on the counter.
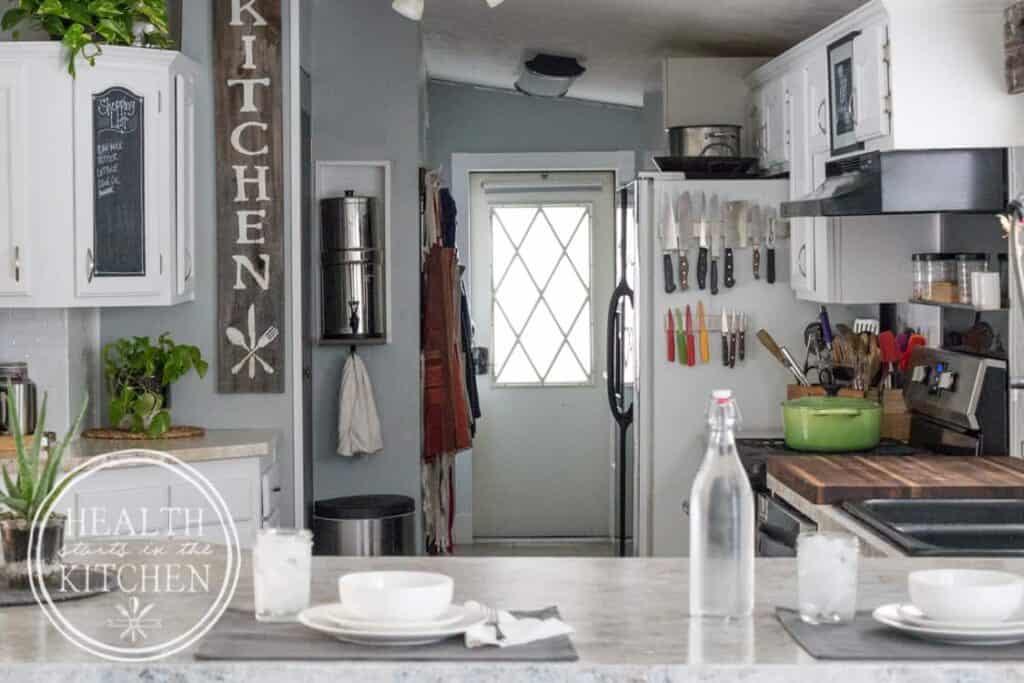
I love freeing up counterspace and being able to see my knives. THESE 10 inch magnetic knife bars can be mounted on a wall/cabinet using screws or they can stick to your refrigerator with their special magnetic powers.
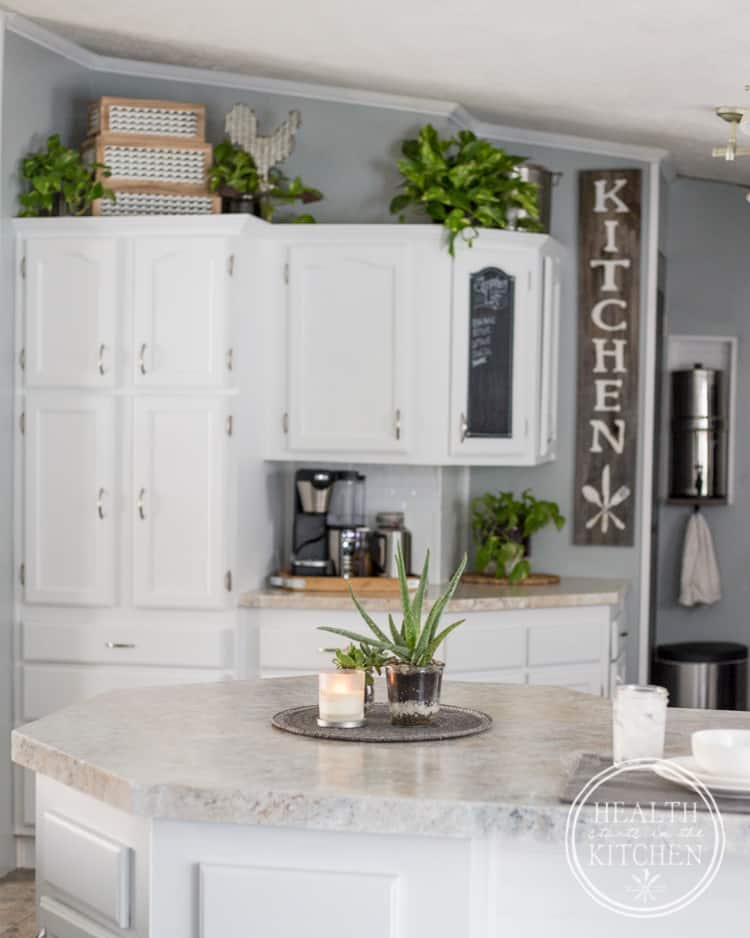
Barnwood Kitchen Sign – Keeping with the same look as our kitchen window valance, I made a KITCHEN sign using extra barnwood and paint I already had.
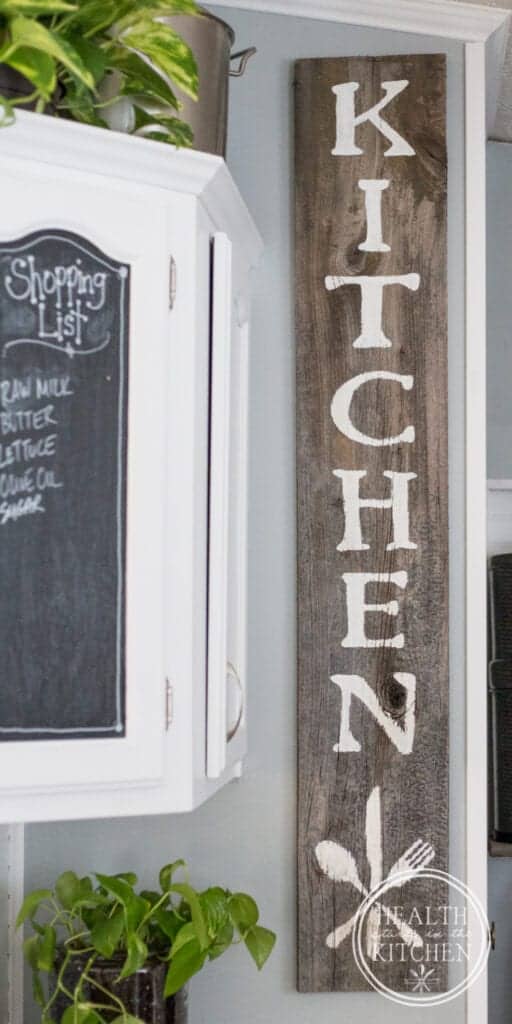
Can it get much easier? I didn’t use a stencil either, want to learn how? Just ask in the comments and I’ll post my DIY instructions!
Rustic Utensil Storage Crate – A few months ago I snagged this super cute Reclaimed Wood Wine Crate and I am excited to finally find a use for it! Doesn’t it look awesome??
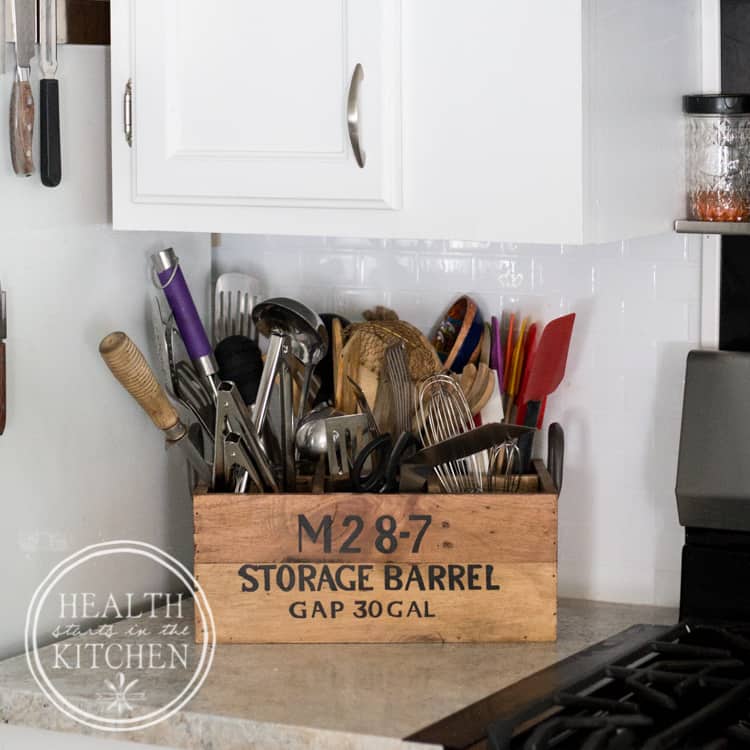
I put mason jars in each of the 6 compartments to hold utensils.
Live Plants – I grabbed a few new low-light plants to add life and color to our kitchen. I’m always growing things, no matter the season. I don’t waste money on pots, I just plant them in glass mason jars and canisters.
Walnut Butcher Block Cutting Board – Several years ago we got large butcher block style cutting board and have kept it between the sink and stove. We used it constantly as our primary work area. But since it didn’t completely take up the space it felt very awkward always being pushed to one side or the other with wasted space surrounding it. Upgrading to a darker walnut wood and the perfect size for our space not only looks beautiful but is much more functional space.
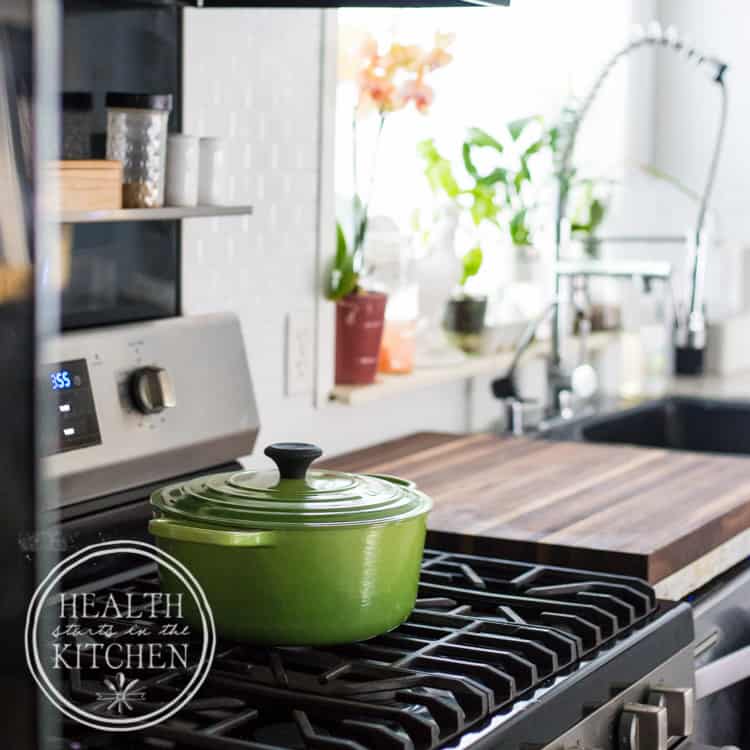
If you’re looking for a timeless addition to your kitchen, THIS is the butcher block cutting board you want. If you can’t find the exact size you want, they will make one custom to your dimensions. A good quality butcher block will last a lifetime and is worth every penny.
Gel Kitchen Mat – Healthy cooking just got more comfortable with a Gel Kitchen Mat! I wanted one for YEARS but couldn’t find one that made sense, size-wise in our kitchen’s unique space.
This 36 by 60 gel mat in stone blends in beautifully with our flooring and functionally makes sense.
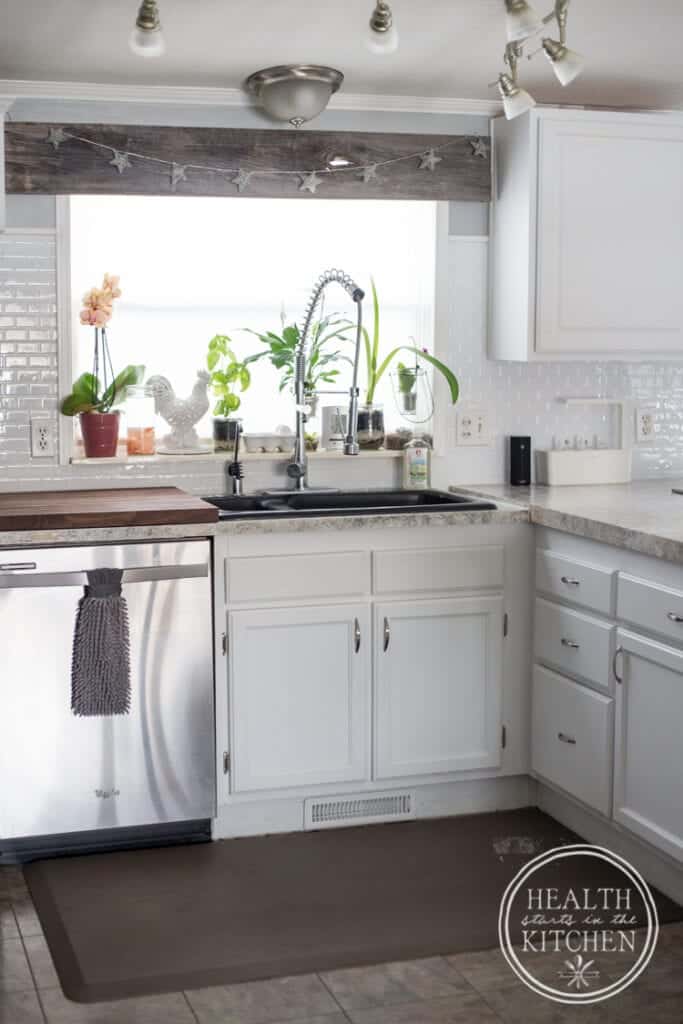
Now when I’m cooking, my leg/feet no longer ache, no matter how long I’m on them!
Just so you know (and incase you were wondering) I did 99% of the work all-by-myself.
And No (before you ask) I’m not a DIY genius. In fact I pretty much stink at all things home improvement.
So, I could do all this in just a few short weeks, in my spare time, so can you!
What’s next? I’m Expanding the Makeover!
Our home is basically on large open space with bedrooms on either end. So now that my kitchen has been made over, it’s time to expand the beautification throughout the space.
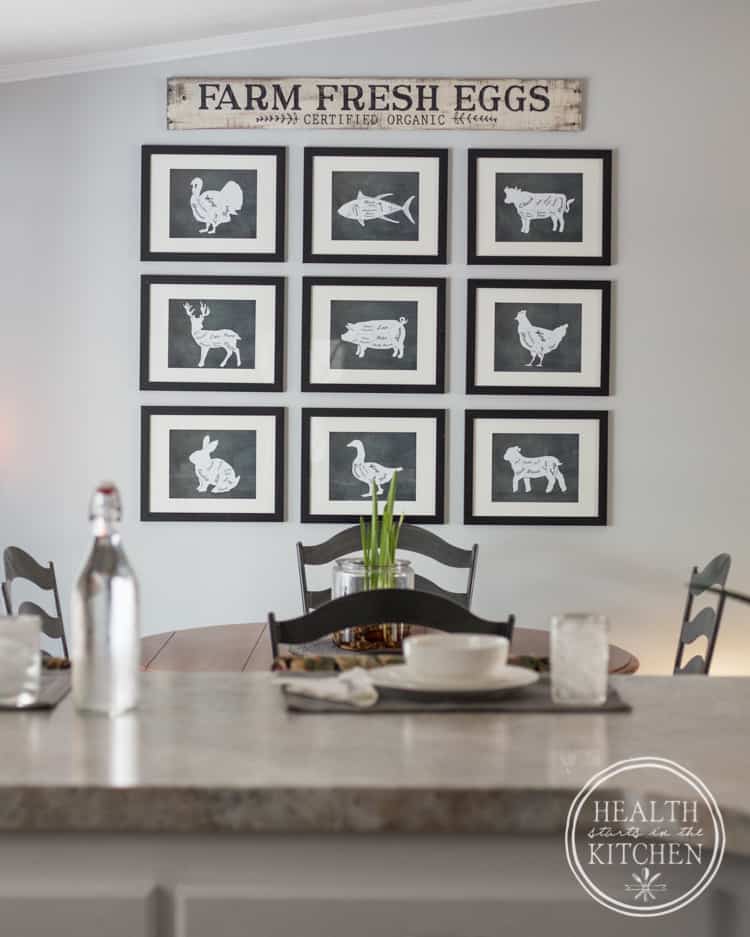
I updated our attached dining area, painting the wall and adding some artwork. (artwork = computer printouts in inexpensive frames from Michaels with 40% off coupons)
Next we’re painting our living room walls in the same gray as the kitchen/dining room, brightening up the space with a new coat of ceiling paint and duplicating the barnwood valance over our double window.
Spring 2017 we’re installing hardwood floor that we discorvered off of this website. It will be going in the entry/dining and new carpet in the living room/master bedroom. And finally replacing our 15 year old, falling apart sectional couch!
Questions? Comments?
What do you think of my Holiday Kitchen Makeover on a $500 Budget?
Do you love it or Hate it?
Was it money well spent?
What details did I leave out?
What questions do you have?


Hi – did you use the black primer for the giani countertop kit? Your counters look so much lighter than the others I’ve seen using this and it’s definitely the look I am going for! Could you share any more about the process you used so I could replicate?! Thanks!
yep. I followed the directions to a T, only made them lighter with extra coverage.
Love it all! I hope to do this in the next couple months. What time of year did you do the painting?
What color paint is the wall in your dining room?
I will have to look up the paint color, I did the project in November.
Your kitchen looks marvelous, I have been thinking of doin doing something similar or ages. What kind of white paint did you use on the cabinets? Gloss, semi-gloss? Did you use the tiles just above the stove or the entire kitchen? Good job and I’m thinking I will copy you.
Hey Janice – if you read my post (& look at the photos), I’ve answered all of your questions, including links to the exact products that I used.
What a fantastic makeover!! Looks amazing. I’m curious about the countertop redo – when I look at other counters done with the same color kit you used they all look so different/darker. Did you skip using a color or layer differently? Any tips for creating the look you achieved? I LOVE how they turned out and plan to give it a try. Thanks! xo
I purposefully use more of the lighter colors because i wanted a lighter look.
I love love love this! My husband isn’t on board with painting our builder grade oak cabinets and they drive me nuts but I’m going to do the Gianni countertop, floor, backsplash and add hardware. Hopefully itll be enough k make me like our kitchen finally!
I just want to say how amazing your kitchen looks!! Also….thank you for all of the recommendations! We got that cabinet kit and redid our bathroom on a test run, and next up is the kitchen. It looks awesome!
I really like this article, thanks for sharing! I shared it with my partner and we both have been inspired to make some changes to our kitchen. This weekend we replaced a hinge on a kitchen cabinet that hasn’t shut properly in the last 12 years! So thank you for inspiring us 🙂
Did I miss the post for the DIY Kitchen sign? found your blog looking at the countertop product. Have it in my bathroom for 4+ years now, it is a fantastic product!
Now to see if I can swipe all of your awesome kitchen-ness 😉
I’ll be posting it soon 🙂
Hi Hayley, can you provide a link to the site where you printed the butcher cut pictures from? Thanks!!
I got them from Etsy. I would LOVE to share the link but the seller was not very nice when I approached him about linking to his items in my blog post, guess some people don’t want free advertising.
You did an amazing job! It all looks so beautiful. I will definitely be looking into some of the products you used. What a great way to spruce up a space for so little money.
Hayley your kitchen is beautiful! You are making me want to remodel my 1933 kitchen! Wonderful work you did and can’t wait to see the rest! I’m jealous of your space and cabinets! Keep up the wonderful work!
Wow! Hayley what a great job you’ve done with your kitchen. The lighter color woke up the space just right.
I LOVE the subway tile idea–I had no idea that such a tile was available. I’m definitely going to be getting some of those after the 1st of the year. Our kitchen needs a mini makeover.
Thanks for all the great ideas!
It looks amazing! I’m going to have to look into a lot of what you did because it could easily be applied in our kitchen too. We’ve got similar brown cabinets that are NOT cute and there are no handles or pulls which is a pain. Good to know repainting them is totally doable! And I want to see more about that Berkey shelf! Did you have to knock out some of the wall??
This make-over is incredible, Hayley! From dark/dull to bright. light & cheery!!! Just lovely! I was looking forward to seeing it all completed and am happy for you. I know how exciting it is to have it done.
We just did basically the same thing to my kitchen this past Spring. Went from very dark cherry cabinets — with the kitchen done in French Country style. But it was so dark & dreary. But for the makeover, we painted the cabinets white and turned it into a 1050’s kitchen and I love, love, love it! Still haven’t done the counter top though. Earlier this year I had checked into using the same thing that you used but couldn’t find it in red & that’s the color that I really want. And so I’ve been uncertain as to what to do. Any ideas?
I love your “kitchen” sign! The letters & silverware look like they jumped right out of your logo! 🙂 Did you just enlarge them somehow? You did an awesome job with everything. I admire you for going ahead and doing almost all of it yourself. I would have never had what it took to my kitchen over by myself! Hubby, our son, & a friend did most of it.
Congrats on your fine work!
Looks seriously amazing!
You rocked it! I love the Berkey area! I have a large one as well, they are amazing but it is inconvenient having to keep it on the counter. It is so strange how much not loving your space can really bring you down. We are really frugal out of necessity, but we try to be mindful regardless. We moved in 2 years ago and we all disliked the paint color in the house AND LOT! Bandaid peachy brown, yuck! I finally painted a few weeks ago after living the last 6-8 months with paint swatches on the walls. I don’t know why I waited 2 gallons of wall paint 1 gallon of trim and life has been soooo much nicer, calmer to sit and do anything or nothing. I am really looking forward to some of your projects and DIY sharing. The counter blows my mind! How?
I absolutely love this! It’s all gorgeous, and I may have to follow suit on doing the backsplash. My husband wanted to tile around our windows, where there is only paint now, but all tiles would be way to thick and make the window frames look strange. I’ve been considering doing some sort of paper application, but this is more what I had in mind.
This looks amazing! I am refinishing similar oak cabinets. Do you feel that your cabinets now look ‘painted’ with this kit, or that they were always white? Would love to hear how the process went!! Will be doing this in about a week!!!
They look so much better than I anticipated. Def like they should be white and not cheaply painted
Hayley will never cease to amaze me. Her kitchen makeover is amazing. Just beautiful. I’m so proud of you. Your talents, your abilities. Love you will all my ❤️. Mom